Database Design
이전에 설계한 API Design 을 기반으로 간단하게 Database 설계 및 sample data 를 추가해보자.
CREATE DATABASE  IF NOT EXISTS `employee_directory`;
USE `employee_directory`;

--
-- Table structure for table `employee`
--

DROP TABLE IF EXISTS `employee`;

CREATE TABLE `employee` (
  `id` int NOT NULL AUTO_INCREMENT,
  `first_name` varchar(45) DEFAULT NULL,
  `last_name` varchar(45) DEFAULT NULL,
  `email` varchar(45) DEFAULT NULL,
  PRIMARY KEY (`id`)
) ENGINE=InnoDB AUTO_INCREMENT=1 DEFAULT CHARSET=latin1;

--
-- Data for table `employee`
--

INSERT INTO `employee` VALUES
	(1,'Leslie','Andrews','leslie@luv2code.com'),
	(2,'Emma','Baumgarten','emma@luv2code.com'),
	(3,'Avani','Gupta','avani@luv2code.com'),
	(4,'Yuri','Petrov','yuri@luv2code.com'),
	(5,'Juan','Vega','juan@luv2code.com');
Create Project
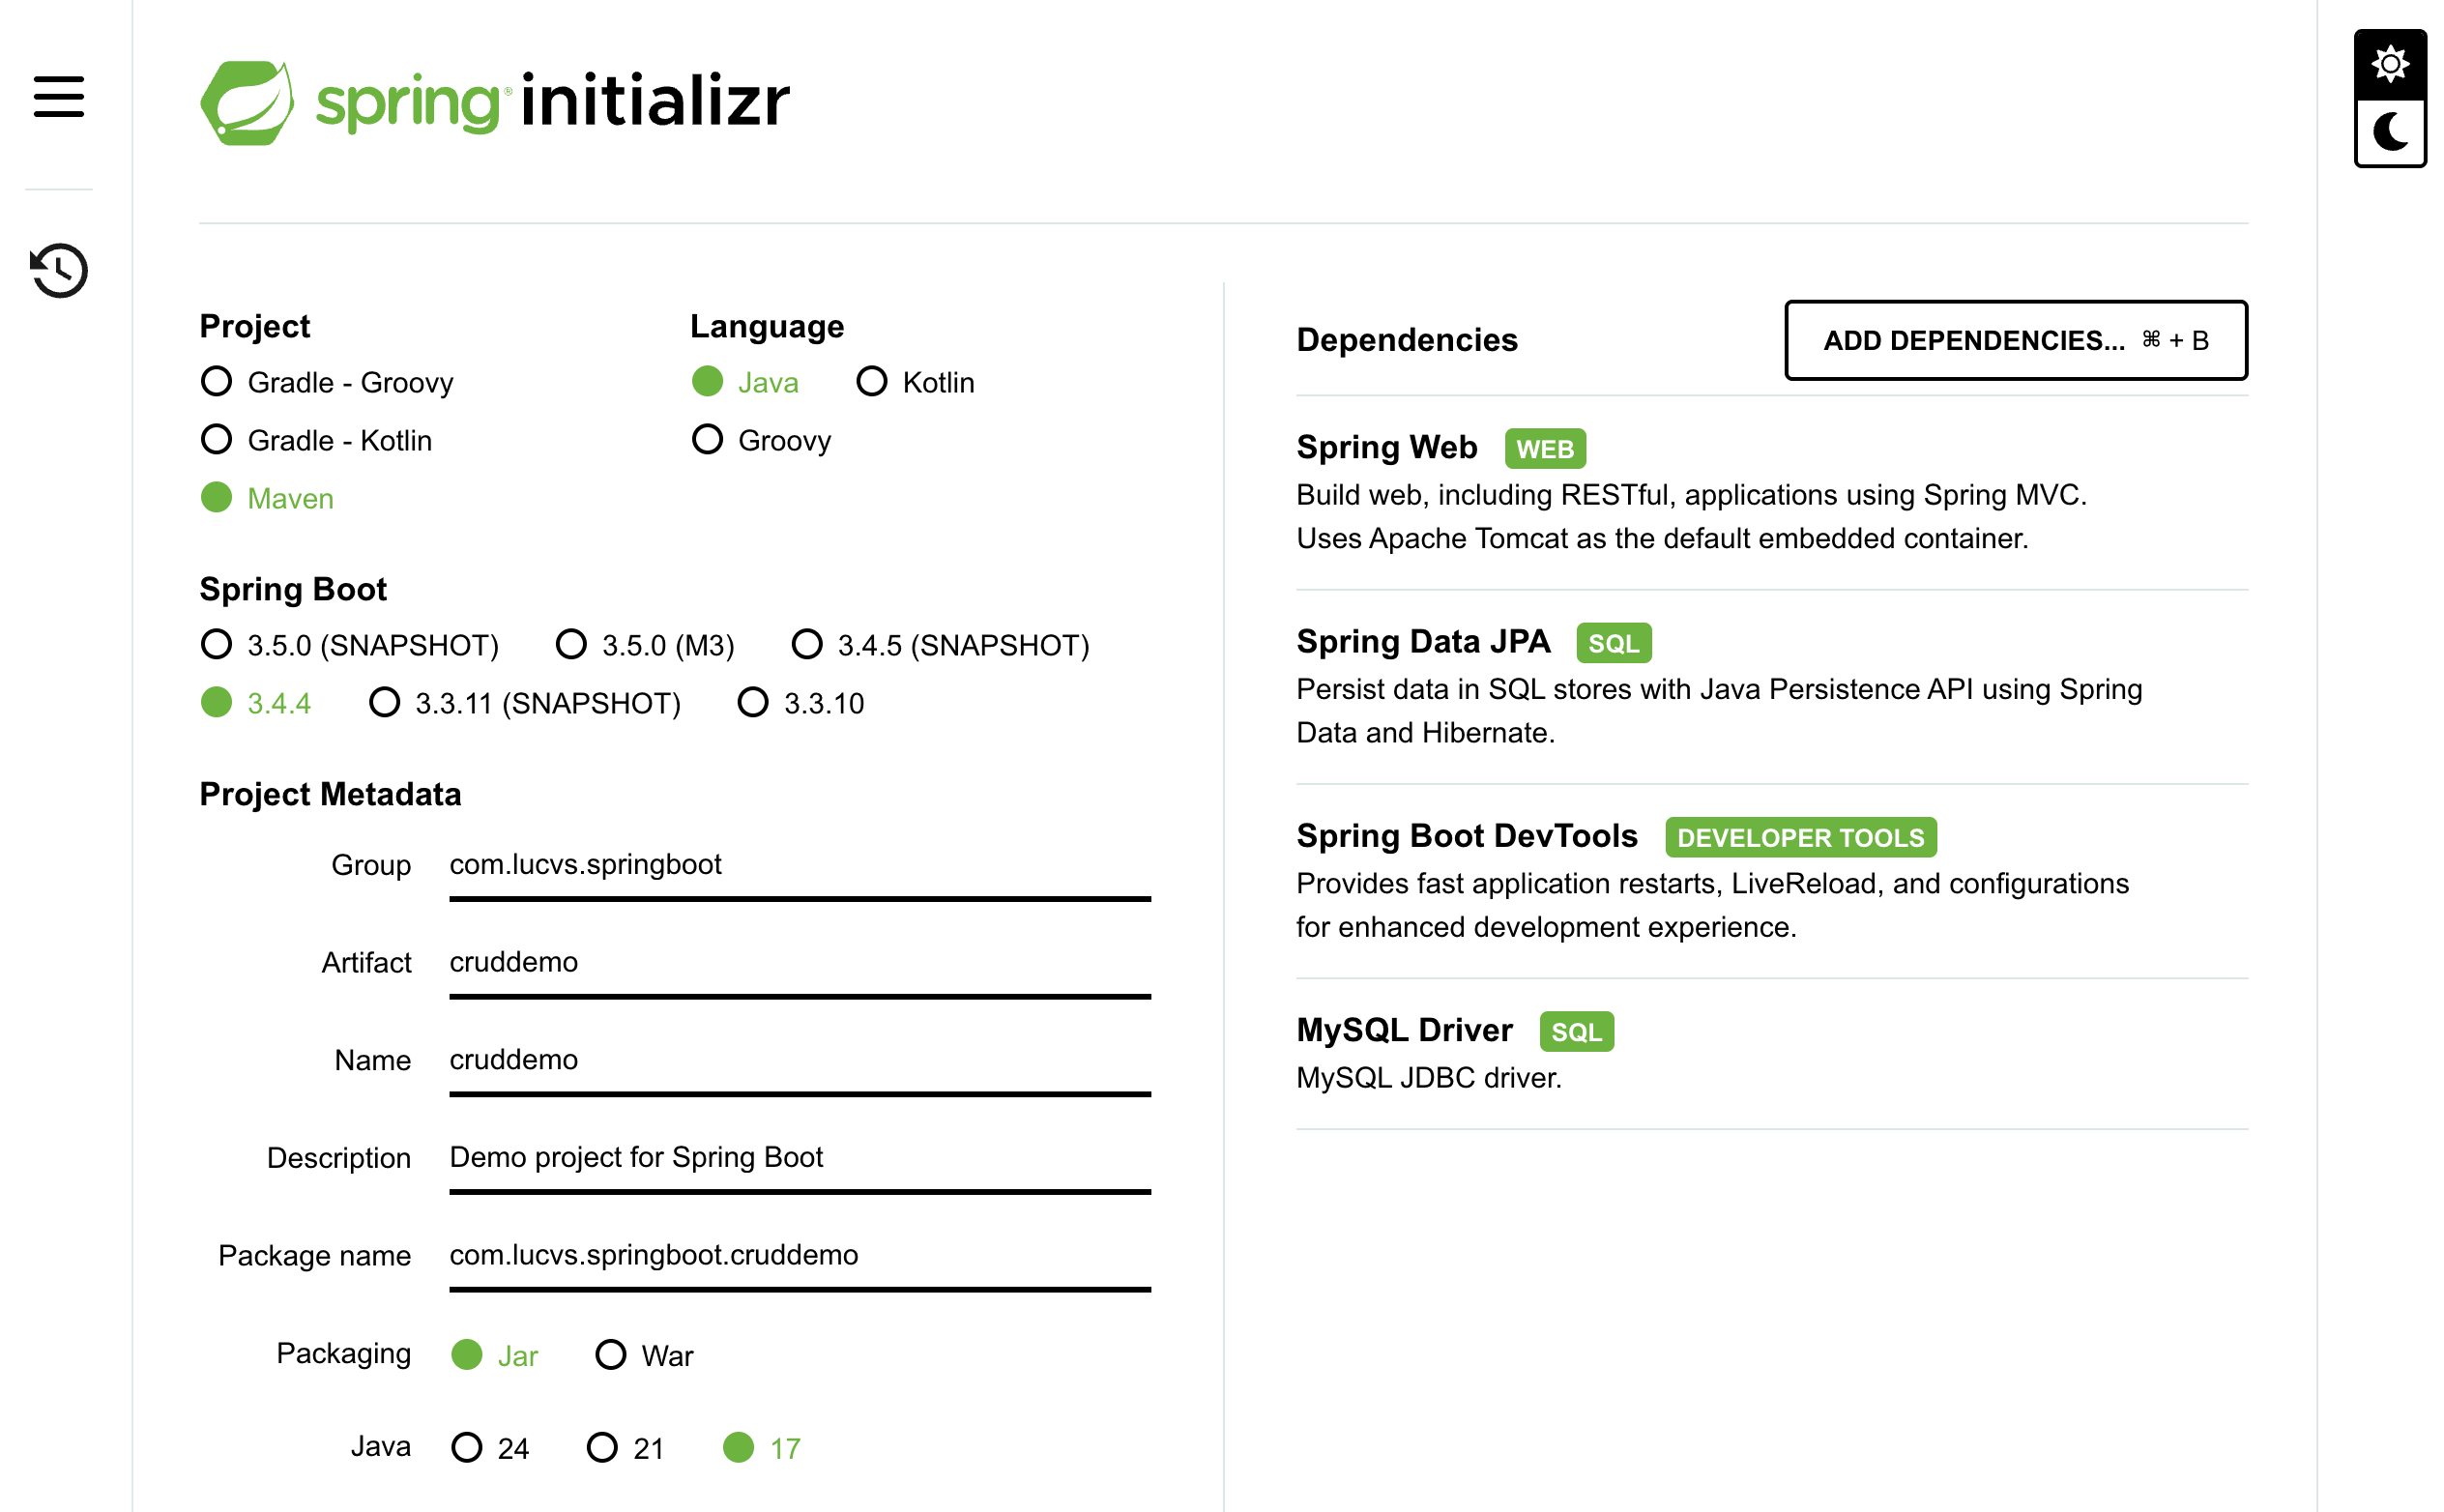
Dependency 를 위와 같이 포함시킨 뒤, project 를 generate 하자.
Development Process
Development Process 는 우선 다음 단계를 따라서 진행한다.
- Update DB configs in
application.properties- Create Employee entity (entity class)
- Create DAO interface
- Create DAO implementation
- Create REST controller to use DAO
처음에는 아래와 같은 Architecture 로 구성된다.
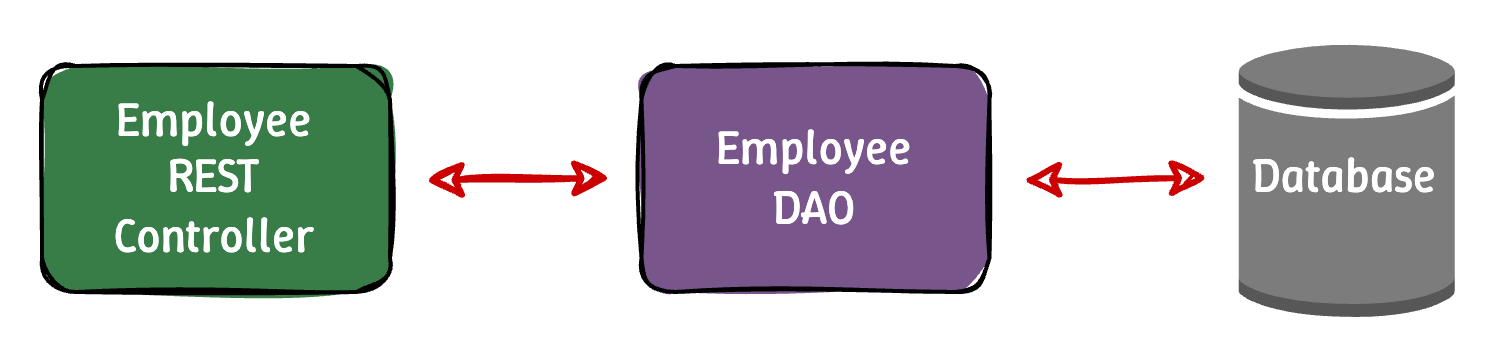
이전에 DAO 를 처음 다뤘을 때와 같이, DAO 를 Controller 에서 직접 injection 받아서 사용하는 구조이다. 이제 Development Process 에 있는 단계들을 하나씩 구현해보자.
우선 Database configuration 을 다음과 같이 application.properties 에 update 한다.
# JDBC properties
spring.datasource.url=jdbc:mysql://localhost:3306/employee_directory
spring.datasource.username=username
spring.datasource.password=password
그리고 Database Design 한 것을 기반으로 Entity Class 를 작성한다. Employee.java 에 다음과 같이 작성한다.
@Entity
@Table(name="employee")
public class Employee {

    // define fields
    @Id
    @GeneratedValue(strategy = GenerationType.IDENTITY)
    @Column(name="id")
    private int id;

    @Column(name="first_name")
    private String firstName;

    @Column(name="last_name")
    private String lastName;

    @Column(name="email")
    private String email;

	// define constructors
	...
	// define getter/setter
	...
	// define toString
	...
}
이렇게 @Entity 를 사용하여 JPA 가 알아서 실제 DB 의 employee table 및 각 field 와 mapping 을 수행하도록 하면 entity class 설정은 끝났다. 이제는 DAO 를 위한 Interface 와 그에 대한 Implementation 을 만들자.
이쯤에서 다시 Boss 가 요청한 API Requirements 를 확인해보자.
Create a RET API for the Employee Directory
REST clients should be able to
- get a list of employees
- get a single employee by id
- add a new employee
- update an employee
- delete an employee
requirements 의 첫 번째 사항부터 하나씩 구현하는 식으로 진행하면 좋을 것 같다. 다시 DAO 로 돌아와서, 모든 employee 의 list 를 return 할 수 있는 method 부터 declare 하고, define 하면 될 것 같다.
EmployeeDAO.java interface 에는 다음과 같이 작성하고,
public interface EmployeeDAO {
    List<Employee> findAll();
}
이를 implement 하는 EmployeeDAOImpl.java 에는 다음과 같이 작성하면 될 것이다.
@Repository
public class EmployeeDAOImpl implements EmployeeDAO {

    // define field for entity manager
    private EntityManager entityManager;

    // set up constructor injection
    public EmployeeDAOImpl(EntityManager entityManager) {
        this.entityManager = entityManager;
    }

    @Override
    public List<Employee> findAll() {

        // create a query
        TypedQuery<Employee> theQuery = entityManager.createQuery("from Employee", Employee.class);

        return theQuery.getResultList();
    }
}
마지막으로, 해당 DAO 를 Injection 받아 사용하는 REST Controller 를 작성하면 requirement 하나의 Development Process 가 끝이 난다. EmployeeRestController.java 에는 다음과 같이 작성한다.
@RestController
@RequestMapping("/api")
public class EmployeeRestController {

    private EmployeeDAO employeeDAO;

    // quick and dirty: inject employee dao using constructor injection
    public EmployeeRestController(EmployeeDAO employeeDAO) {
        this.employeeDAO = employeeDAO;
    }

    // expose "/employees" and return a list of employees
    @GetMapping("/employees")
    public List<Employee> findAll() {
        return employeeDAO.findAll();
    }
}
Potential Problem
그러나 잠재적인 문제점이 보이는 것 같다. 만약에 Buiness logic 이 조금 더 복잡해져서 하나의 method 에 여러개의 DAO 가 사용되고, logic 이 복잡해지면 Controller 내부의 code 가 무한히 늘어나 유지보수에 어려움이 생길 것이다.
그렇다면 Controller 와 Buisness logic 을 분리시킬 필요가 있을 것 같다.